These were just a few tips on how to avoid the most common beginners photography mistakes.
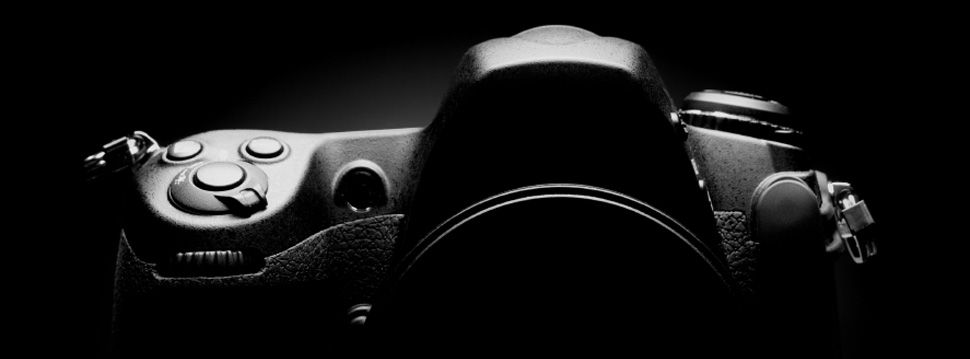
Gone are those days when digital photography was a highly expensive venture and was taken up only by a handful of tech-savvy individuals who could afford the then-emerging technology. The popularity of digital photography over traditional film-based photography grew at unprecedented rates; newer and more advanced features and technologies were introduced. This resulted in an almost complete transformation of the photography scene; more and more people started owning their personal digital cameras as they became increasingly affordable.
This growing popularity of digital photography has spread like wildfire, and for reasons that are obvious. Today’s digital cameras boast features that are nothing short of being astonishing and the pictures they create are of an exemplary quality. Even the simplest of digital cameras are now capable of producing good quality pictures, whereas their higher-end counterparts – the Digital SLR cameras – allow tweaking of each of the features of the camera to produce masterpieces of photography.
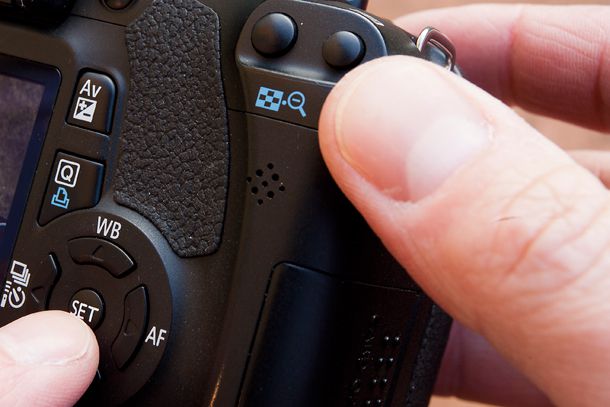
It can be intimidating for many photographers – new and experienced alike – to fully comprehend the capabilities of their cameras. The under-utilization or incorrect utilization of a camera’s features acts as a barrier to perfect photographs.
To fully grasp the essence of digital photography, it is first necessary to familiarize one with the technical jargon, such as shutter speed, field of depth, ISO, f-stop and aperture. Without a decent understanding of these terms, photographers are bound to make mistakes when capturing pictures.
These step-by-step articles will act as a guide for both novice and experienced users alike. Both can benefit greatly by polishing their photography skills. We’ll discuss the 10 common mistakes that photographers make and offer advice on how to avoid them.
Mistake 1: Forgetting to Reset Settings
It is indeed a great idea to experiment with various settings and be creative so that you can snap a perfect shot. In some situations, it is necessary to alter settings such as shutter speed to adjust to the ambient lighting conditions.
There could be nothing worse than finding out your once-in-a-lifetime shot was ruined just because you failed to reset the settings after experimenting with them.
This doesn’t mean that you should stop modifying settings to suit a certain scenario – do so, by all means. After all, photography is all about capturing the moment in the best possible way. Practice makes perfect, you should learn the art of capturing the right moment with the right settings so the end results look exactly like you wanted them to.
The Fix
Just make a habit of resetting the camera’s setting each time you move towards a different scenario, this way you will have a standard set of settings to work from each time. These standard settings may not be ideal for every shot, but will at least provide acceptable photos in case you have to take a snap in a hurry. You could edit them later on, anyway.
Mistake 2: Blurry Pictures
A lot of images captured by novice photographers usually turn out to be blurry. What’s the point of taking a shot of tree-ripe oranges when looking at the picture reminds you of citrus marmalade, rather than oranges?
The problem is magnified when these photographers fail to realize the cause behind it. There are several factors that result in blurry results. The various factors include the shutter speed being too low, the ISO is too high; not using a tripod to keep the camera firm or the subject could be moving.
The Fix
There are two major things you need to take care of; firstly, make sure sufficient light is getting into the camera so the snapped image is sharp. This can be done by adjusting your shutter speed – divide your effective focal length by one; this will give you the minimum shutter speed that you should use for the shot. This means that with your 70mm lens, your shutter speed should be at least 1/70 seconds. Another thing you can do is to use flash.
Secondly, you should prevent setting the ISO too high, this does avoid the effects of camera shake, but it diminishes the details as well due to the camera’s noise reduction processes.
It is recommended to use a tripod to keep the camera firm and avoid any camera shake that may cause blurriness. If your object is moving, then a faster shutter speed will help you freeze the action in time.
Mistake 3: Not Paying Attention to Ambience
A photographer grabs the camera and heads out in the open to capture images to their hearts delight. Snapping at a vigorous rate 100 or more images an hour and feeling escalated at their newly learnt skills. Sounds familiar?
Lots of novice photographers go through this routine. Many don’t stop to survey the details of their environment before they press the button. But is the ambience important at all?
It is very important indeed; and not paying attention to the ambient conditions, such as lighting, time of the day and other weather related effects is one of the most common faults committed by new photographers. Some try to capture an image of a mountain lake at noon and expect their result to be equal to the works of Bruce Percy.
The Fix
This really isn’t something to be worried about. Do go on photo capturing-sprees; this will familiarize you with your camera and prepare you for greater adventures ahead. Once you’re over with your mass production habits, strive to create works of quality, rather than in quantities. Ponder over the ambience, ask yourself questions; is the lighting correct? How can I adjust the shutter speed or ISO to capture exactly as I see? Over time, you’ll begin to grasp the effects the ambient conditions have on an image, and that’ll be a whole new beginning for you.

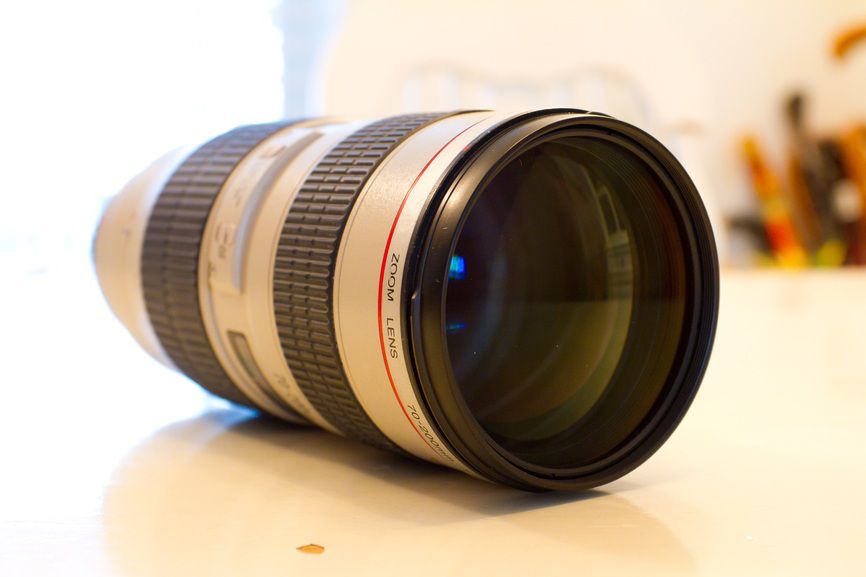
Mistake 4: Choosing the Wrong Lens
The lens is the eye of the camera, without installing the correct lens for your intended shots will not produce desired results. So in a nutshell, without a proper lens, you cannot create the images that you want. Novice photographers have a difficult time fully grasping the technical lingo that comes with camera lens; however, without properly understanding the basics, you will never be able to figure out which lens would be suitable for the type of photography you want to do.
The Fix
It is necessary to understand at least the 2 major properties of lenses: the focal length and maximum aperture.
It is commonly believed that the focal length is the measure of how long the lens is in millimeters – this isn’t true at all. Focal Length is actually the distance from the optical center of the lens to the imaging sensor whenever the lens is focused at infinity, in millimeters. Confusing, isn’t it?
Let’s skip the highly-technical definitions and concentrate on how the focal length affects the image.
The first important thing is the angle of view; it is the amount of a scene that a lens can take in. It is inversely proportional to the focal length, meaning the higher the focal length, the less area you’ll be able to capture, and vice versa. A focal length of 50mm will allow you to take wide-angle pictures as compared to a 200mm lens.
You’ll also encounter lens that have a range of focal length depicted on them, such as 24-80mm. This means that it’s a zoom lens and is capable of being used between that range.
If you would like to capture landscape photos or want to capture a wider scene in general, go for lower focal length values. On the other hand, if you want to focus more on particular objects, or want to see afar, go for lenses with higher focal lengths for better zoom capability.
The next thing you should know is the maximum aperture of the lens. The aperture can quoted as F2.8, 1:2.8 or f/2.8 – all mean the same thing. The aperture refers to the amount of light a lens can take in. The numbering works in an opposite way, meaning that higher aperture values are capable of taking in less light than lower aperture ratings. A rating of f1.4 will take in more light than a f8.0 lens, making the former more suitable for use in low-light conditions.
That being said, you should consider where you’ll be taking your pictures, if low light conditions will be dominant – by all means go for lenses with low aperture numbers. Also consider the various types of lenses each suitable for a specific type of photography: Ultra Wide, Wide Angle, Standard, Telephoto, Super Zoom and Macro.
Mistake 5: Adjusting Exposure Incorrectly
Getting the exposure right is crucial if you want your pictures to turn out the way you want them. This is something many novice photographers struggle to get right. The resulting pictures are usually underexposed (dark, shadowy) or overexposed (too bright). Both can deteriorate the amount of detail in the images significantly.
There are times when even the auto exposure mode of the camera isn’t able to get the exposure right. Why does this happen, you may wonder; it has to do with the technique which the camera uses to set the appropriate exposure setting. The amount of light that is reflected off a subject is used to determine the exposure value by the camera. This metering mode is far from perfect; consider a situation where two cats, one black and one white, are sitting together. The camera will calculate an average exposure that it deems suitable, however, the situation would be entirely different if you were to snap a photo of each of the two cats separately – the white color would reflect more light than the black – changing the exposure value considerably.
The reason why the camera meter gets the exposure wrong in some situations is because it expects all tones to average out at 18% grey (mid-grey tone) – this usually works out fine, but not every situation is typical.
The Fix
The best way to resolve exposure problems is to clearly understand what affects exposure. Yes, you thought right – it is the amount of light that enters the camera’s sensor.
Underexposed Image: If your photos are turning out darker than the original thing, then they are underexposed, meaning that insufficient light is entering the camera. In such cases, increase (+) the exposure on your DSLR in ½ stop increments until you find a suitable setting.
Overexposed Image: Brighter than normal images is a consequence of too high an exposure setting that lets in more light into the camera. Reduce (-) exposure in the same ½ stop increments until you find a decent setting that seems ideal.

Mistake 6: Setting Incorrect White Balance Setting
White Balance settings are among one of the most important in photography. They are, however, also one of the least-understood concepts. Simply put, a white balance determines how true the colors appear in an image. Incorrect settings display the wrong colors and you would be scratching your head as to why the serene blue ocean has turned out to be green.
As a new comer to photography, a lot of people experience confusion as to why their images don’t show the true colors that they witnessed and attempted to capture.
The Fix
Modern DSLR cameras come with a host of White Balance Modes, including the well known Auto-White Balance (AWB), Daylight, Shade, Cloudy, Tungsten, Fluorescent, Flash, Temperature and Custom.
Each of the different modes are based on varying color temperatures that range from as low as 1000K of a Candle Flame to 15000K of a Clear Blue Sky – simply put, the stronger the source of light, the greater its temperature.
While the AWB does a fair job in capturing the right colors in broad daylight – you’ll have pictures that are too warm when this mode is used indoors, especially in Tungsten lighting.
It is recommended that you initially play around with the given modes to see which mode fits in a particular situation, only then you should proceed to experiment with the Custom mode that would give you full control over the WB settings. Once you get the hang of it, you’ll have pretty amazing shots with vibrant and true-to-life colors coming your way!

Mistake 7: Incorrect Adjustment of Contrast
Failing to get the contrast right simply ruins the details of an image and therefore it is important to understand what contrast really is. Contrast is the difference between dark and light.
Principally, there are two types of contrast: tonal contrast and color contrast.
Tonal Contrast refers to the difference in the lightest tone to the darkest tone, in other words, the difference between black and white, and all the shades of grey in between. These tones are usually described as High, Low or Normal.
A High Tone image has black and white with little or no middle grey tones in them. A Low Tone image has no particular highlights or any sort of shadows in it. Normal is a balance of high and low tone, including white, black and middle grey tones.
Color Contrast, on the other hand deals with the interaction of colors.
Photos that are taken on sunny days usually have too much contrast in them, making them darker than the actual thing.
The Fix
If the photos are turning out to be too high in contrast, use flash to try and fill the darker areas. You should also try to underexpose the image by one or two stops and see if that gets the contrast right for you.
If your contrast is turning out to be low, check that the focus mode is correctly set as incorrect focus can result in low contrast images. Besides this, try to increase the exposure setting slightly until you get the desired results.

Mistake 8: Having a Wrong Composition
There are no rights and wrongs when it comes to composition. Every person has a different perspective of looking at things and this is what makes things so diverse. A good composition, however, is one that captures a scene in a way that it transforms the image into an awe-inspiring piece of art, engaging the audience.
There’s no exact definition of composition either; nevertheless, professionals agree on that a picture should be able to convey the ‘story’ right – whenever your picture fulfills this purpose, you have gotten the composition right. So in a nutshell, composition is all about getting the flow and balance correct.
Getting a good composition that succeeds in attracting people can be difficult for new photographers, and there are a few ways by which you can considerably improve your skills.
The Fix
One of the most well-known concepts of photographic composition is The Rule of Thirds that can help you take interesting and balanced shots.
Imagine dividing your scene into thirds, both vertically and horizontally, so you’re now left with 9 distinct sections. The Rule of Thirds then goes on to suggest that the points where the lines intersect are the best places where you can position your subjects. According to this rule, this method will create more balanced and involving shots.
Another way to have unique and outstanding compositions is to absorb the idea of minimalism. Lots of photographers fit in far too much subjects into a picture, making it a right composition. Try the less is more approach; no need to zoom in to focus on your subject, rather, have your main subject to occupy only a portion of the whole frame. You’ll be surprised at your results.
Among the various compositional techniques in photography is the Background, Middleground, Foreground method that greatly enhances the results of your shots. A lot of people focus only on the background. Next time you’re taking a landscape shot, try to find an interesting middleground and foreground – perhaps some rocks on the beach followed by random shrubs to instill more detail into the composition.
Change perspective of looking at your subject; trying taking shots from different angles, different heights and positions. A subject will have a totally different composition when you change from an eye level shot to a ground level one. Experiment with different viewpoints until you find the best for your particular situation.

Mistake 9: Having a Flash Too Bright or No Flash At All
A camera’s flash is one of those things that can be tricky, even for the experienced photographers.
One of the common mistakes that people make is never to use flash for their snaps. This is mainly because they do not understand when they should be using the flash. A proper flash – note the emphasis on proper – can open up a new world of opportunities for you.
Using flash is important especially in low-light conditions. There are other situations as well where flash can be used for improving quality of shots. These include fill-flash situations, where the background is brighter than the subject in focus. It can also be used to light up a room so there is better color contrast or even to freeze a moving object in low-lit conditions.
Another problem is encountered in understanding how different flash metering modes will affect the overall exposure. This is because in flash photography, there are two sources of light that affect the exposure: the ambient lighting and the flash itself.
The Fix
Experiment with your flash and see the desired results – try it both indoors and outdoors and see how the flash affects your photos. The best thing about photography is that you learn while you snap pictures, analyzing each shot and considering other options that may have improved the overall quality.
As we previously stated that there are two sources of light when flash is used, and that it can affect the overall exposure of the image; this is where flash exposure compensation comes in. The flash exposure compensation allows manual adjustment of the amount of flash that will illuminate the subject without altering the camera’s aperture or shutter speed. This is a great way to perfectly balance the two light sources especially when you’re using fill-flash to expose objects that are lighter or darker than normal.
Mistake 10: Shooting in the Wrong Focus Mode
Thanks to today’s advanced image editing software, a lot of things can be changed in an image even after you’ve snapped them. However, this isn’t true for the focus though. Taking pictures on an incorrect focus mode is common among new photographers who haven’t grasped the focus modes yet.
An incorrect focus mode causes the camera to try and continuously refocus, and it may make it unable to track the subject or their movement.
The Fix
To be able to properly utilize the different focus modes and have focused results, it is important to have a fair understanding of these modes. These modes may look daunting to you, but they aren’t as complex as they seem.
The three types of focus modes are the One Shot (AF-S), AI Servo (AF-C) and AI Focus (AF-A). Once you understand what each of these modes do, you’ll be more confident in your photography skills.
The One Shot (AF-S) mode is the simplest of all three. It is designed to focus only for one shot. Use this mode when your subject is not moving; the camera only focuses when the shutter button is pressed halfway. The camera will have be refocused every time you move it.
It is recommended that this autofocus mode be used by beginner photographers who are trying to get familiar with their new DSLR cameras.
The AI Servo (AF-C)is also commonly referred to as continuous focus because it will continue focusing even when the shutter button has been partially depressed, allowing adjustments in between shots.
This mode should be used when the subjects are moving, such as at sporting events or moving vehicles. The camera’s focal lock cannot be used to recompose a shot in this mode.
The AI Focus (AF-A) is understandably the least understood among all these modes. In essence, it is a combination of the above two modes. If there’s little or no movement detected, the camera will act as if it’s in a One Shot mode, while allowing use of focal lock feature.
If the camera detects considerable amounts of motion, it starts functioning as if it was in the AI Servo mode to track the moving subject.
If you’ve taken up photography recently, then do try snapping a few shots here and there with each of these modes to understand how they work for you. Practice makes perfect, and as you gain experience, you’ll be able to better distinguish between these modes and use them as the situation demands.

Source : Photoworkout