In this post, we will learn how to create glitch photo effect in Photoshop using channels, smart objects feature, layer blending mode options, some filters, and more! We also provide you the download materials in the below.
How to Create Glitch Photo Effect in Photoshop
Step 1
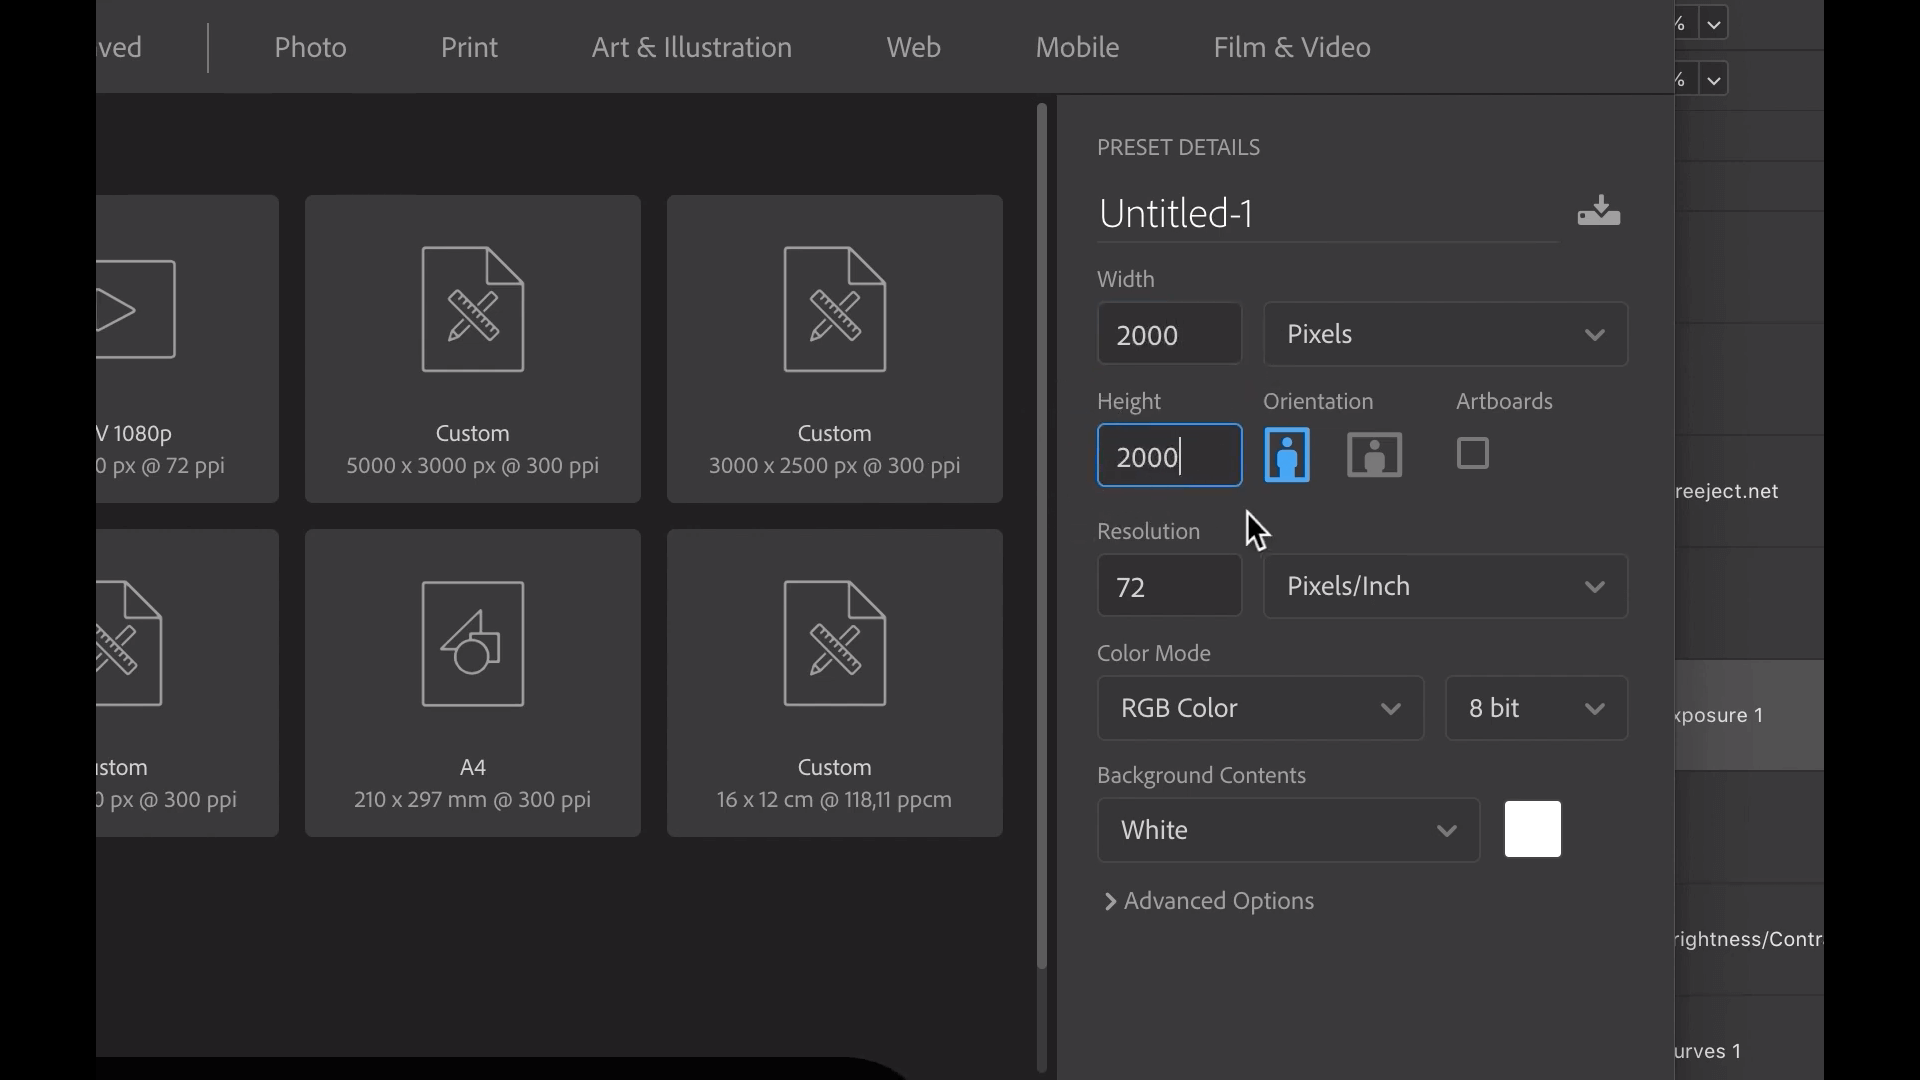
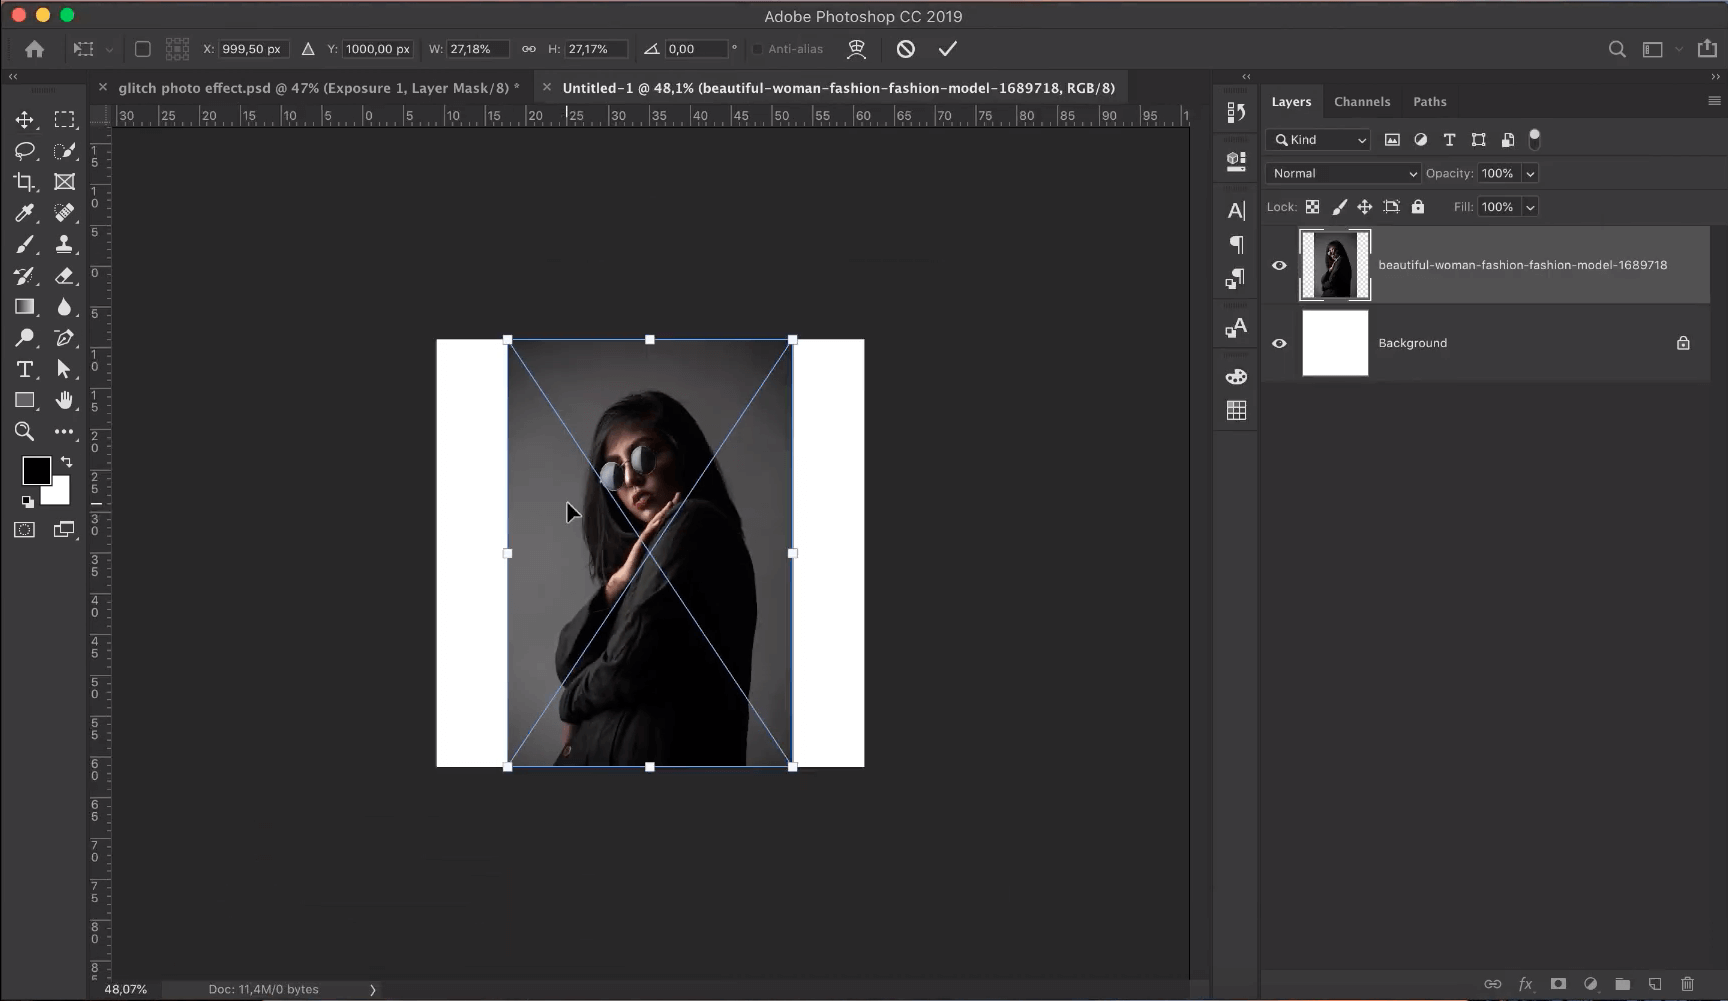
Launch Photoshop and Press Cmd+N to Make a new document using 2000px × 2000px and place your image, Download link in the Below (if you want to try the same Image).
Step 2
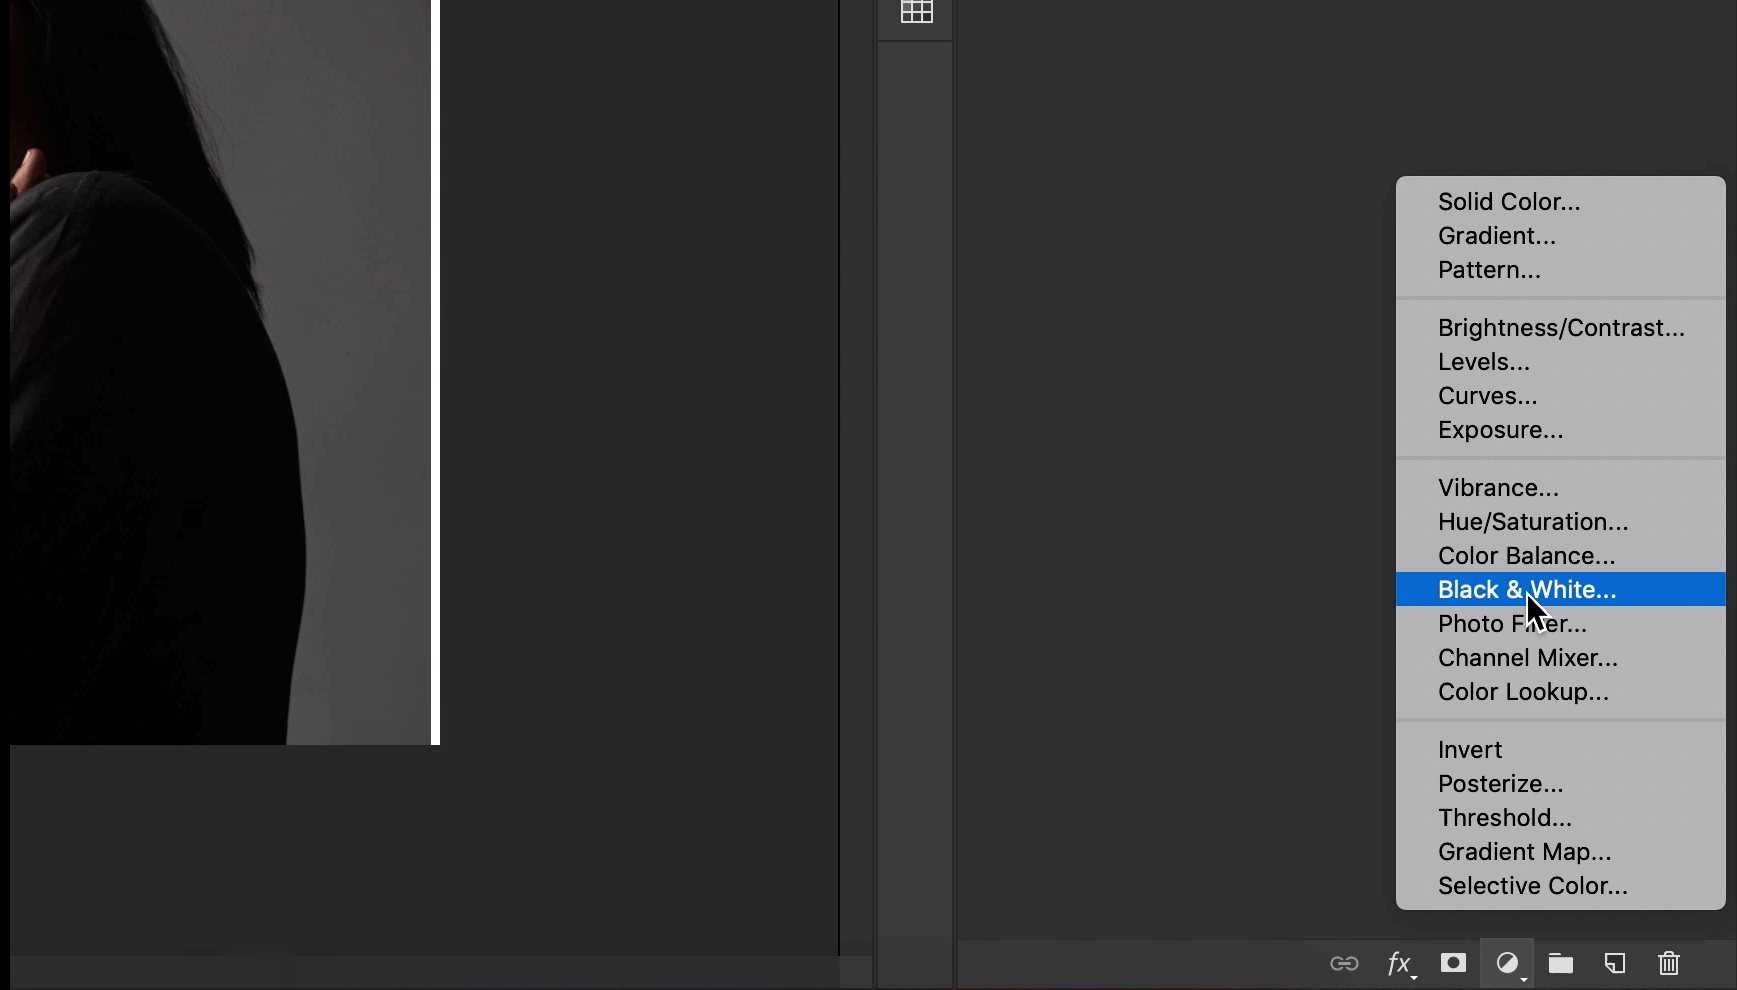
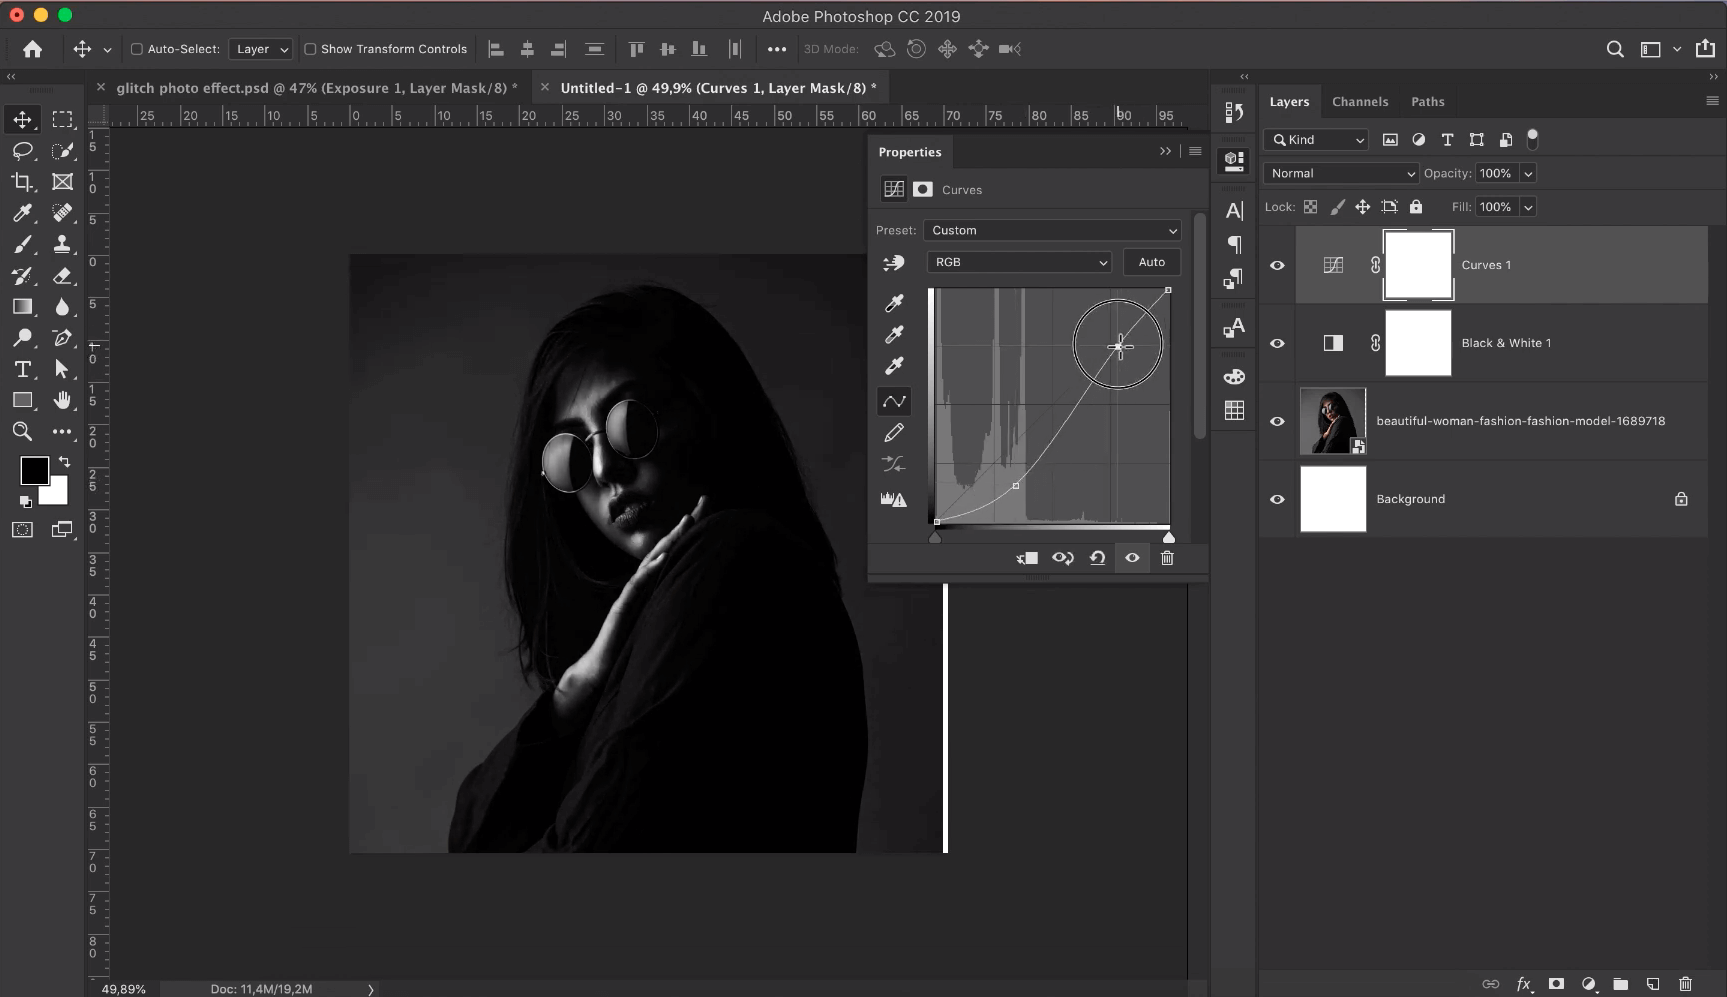
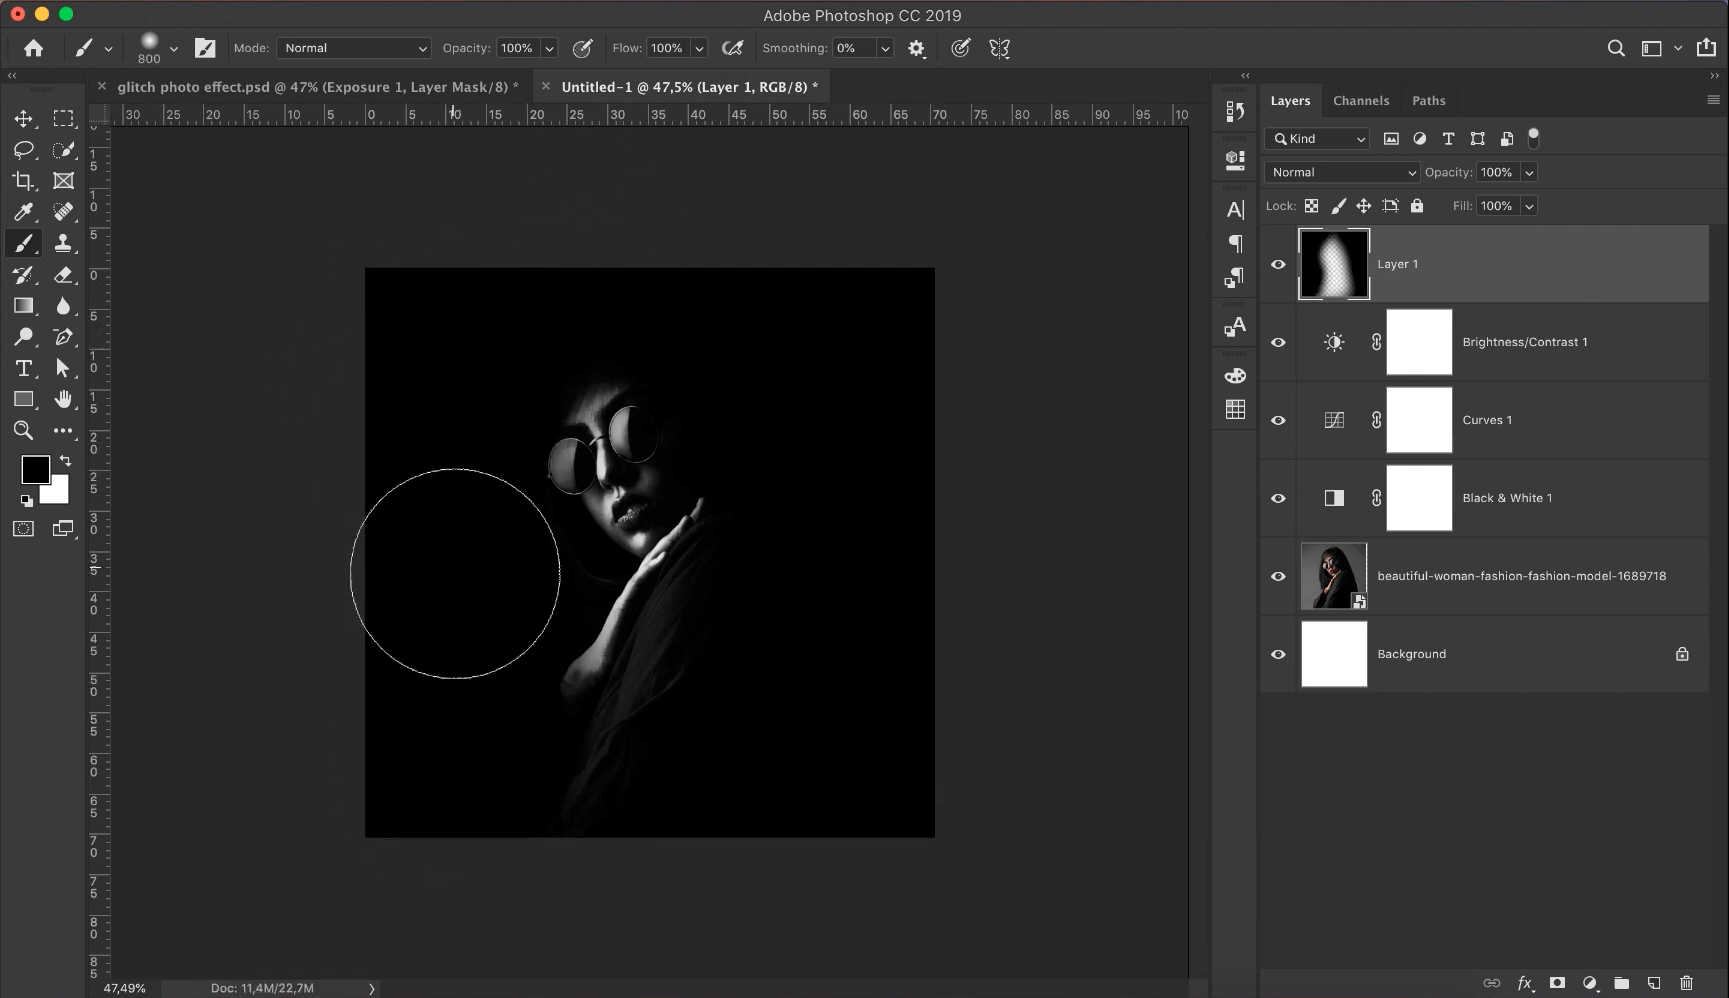
Click on black and white adjustment layer in the layer panel and Click on curves adjustment layer in the layer panel and brightness/contrast layer and curves options to darken the Image.
Step 3
Now create n new layer and now you need to darken background area using brush tool.
Step 4
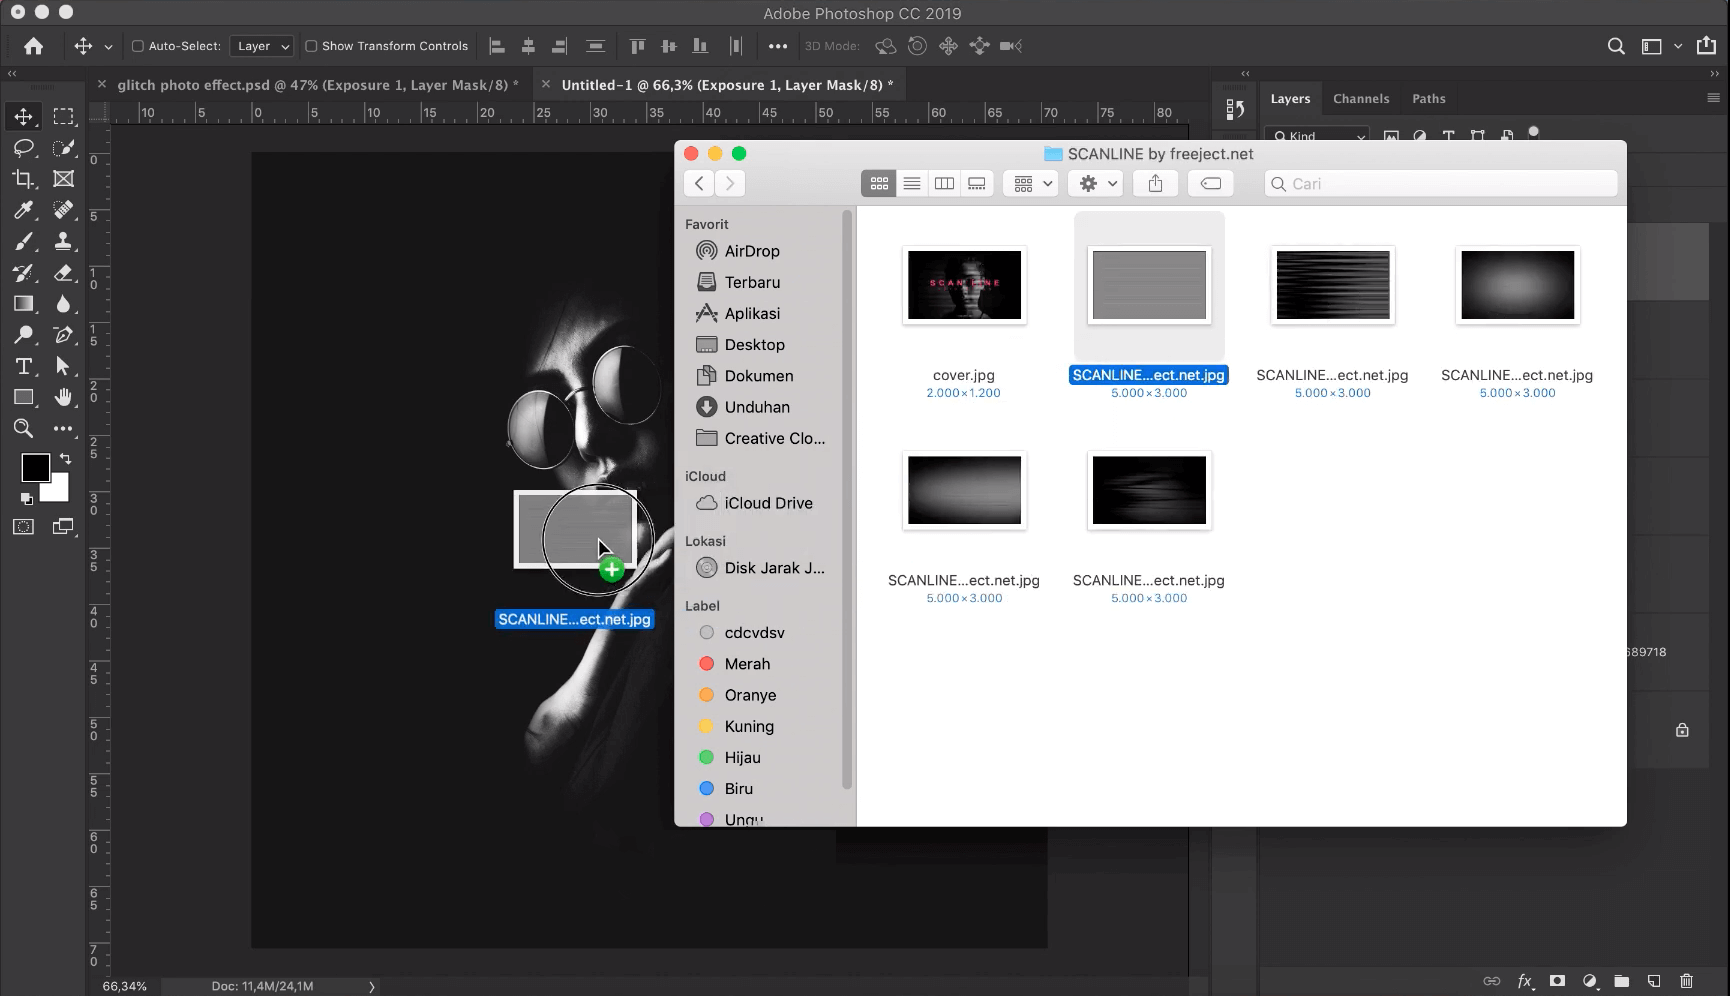
Now place an Image on the top called Scan-line Image (Download link in the Below)
Step 5
It’s time to add your Title or text what ever you want to add to the Design.
Detailed Video:
Watch this detailed step by step video to learn ” The Best Technique to Create Glitch Photo Effect in Photoshop”
Via: Photoshop Tutorials – PSt
Download Links
• Download Project Psd
• Grunge Texture
• Portrait
• Scan-line
• Font
If any download is not working, please let us know using comment section.